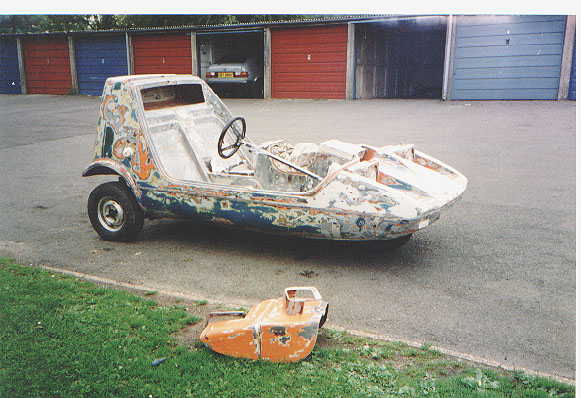
This picture shows just what you may find as your strip your Bug not only star cracking, broken areas of fibre glass, lumps of filler, cracks in the body skirt but also countless layers of paint. On the plus side there wont be any rust and its easy to fix. I don't profess to be a complete expert on working with fibre glass my only previous experience was helping my dad build a Swift Catamaran in the 70s.
My tips for body prep. -Depending on how much work needs to be done, buy a large glass fibre repair kit from your local car paint suppliers as its surprising how much of the stuff you get through. You will also need various grades of glass paper plus an electric sander, if you haven't got one go out and get one- it saves loads of arm ache. You will also need dust sheets as the stuff gets everywhere and last but not least the patience of a saint.
Star cracking
This is a major problem with GRP cars many a tale have I heard when a
bugs been re prayed then a year down the line all the cracks start to
reappear. This problem also happened to me so on a trip to Reliant's I asked how
the problem could be overcome, I was told to grind out the cracks then reapply a
gel coat.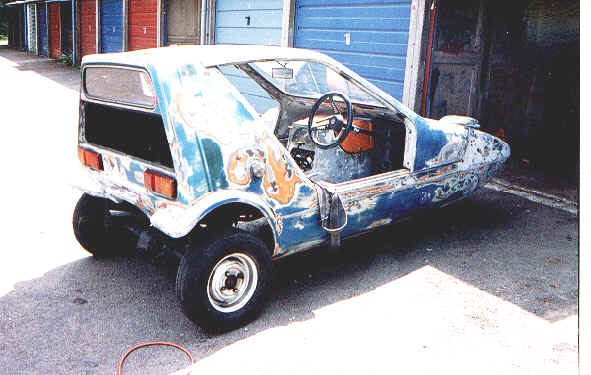
Cracks in the glass fibre The front end/skirt and rear wheel arches are problem areas. Most Bugs have had countless previous owners normally young with the brain cell of a rocking horse, consistently wrapping them round lamp posts, trees etc.
Large cracks can be repaired using the perforated metal sheeting found in body repair kits. The area under the seats normally cracks so I plate this under the body. This stops the chassis smashing holes back. Don't waste loads of time preparing minor blemishes in areas where your never going to see under seats etc. I have found that the elasticated filler is good for covering hollows etc and using a filler primer also makes life a lot easier. Body work preparation is very time consuming but the final result won't look good if you rush and cut corners.
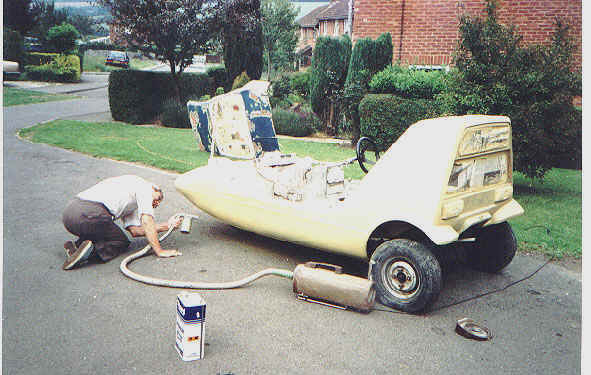
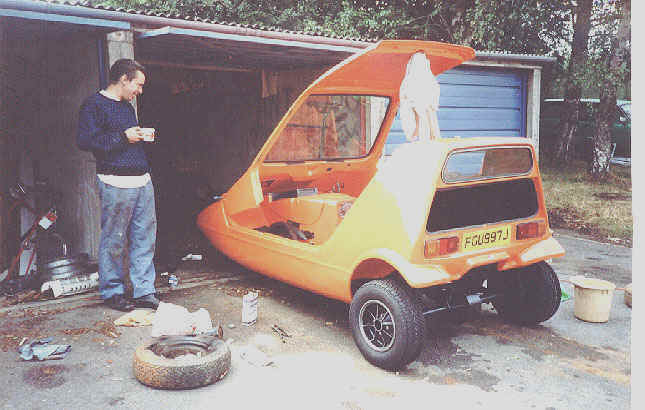
Spraying the Bug A fellow bugger Matt and myself went over to the German Micro car rally in1996. While there we showed pictures of our restorations including the one on the left. The Germans thought it highly amusing that we sprayed the Bug with the pressure from the rear of an old vacuum cleaner. My mum was not so amused when the cleaner packed up and we used her brand new one. I then covered it in orange over spray- Sorry mum. So the first tip for spraying a Bug- use a proper compressor, Ford Vista orange is the closest orange to the original, build up plenty of layers of undercoat it's best to apply plenty of thin layers. Make sure if your doing it out side, you get a warm day but be warned there's always one fly with a death wish. If you've never resprayed before, practice on some old thick card board etc. It is possible to get an elastisiser to make the paint more flexible, I haven't tried it though.
You've got your bug sprayed and its already to go back together the best bit of the restoration is about to begin. The winter months were spent doing all the jobs you can do indoors, like repairing seat covers, head rests, engine covers etc. Its then a case of thinking back "where did I take that off" and "oh shit that bits missing". Here my tips for this stage.
Transfers
Start with the easy ones like the tyre pressure, then work you way on to the bigger ones. When it comes to adding the main stripes put the roof one's on first then the 2 sides. Make sure the small stripe is to the back. I got good old mum to put mine on but I have done the job since. The transfers available from Bond spares can be put on with the body work slightly wet [with a hint of washing up liquid], this means you can move them around and then squeegee the water out.
Roof seal
This can be glued in place using a contact adhesive then tape it into position until dry. Make sure the seal has the 2 lips to the outside of the vehicle. The chrome trim that goes round the edge of the canopy is not very flexible but it will bend easier if you heat it with a hair dryer. If you have removed the windscreen, this can be put back by doing the following,...
1. Apply seal to canopy, making sure the join is not at the bottom.
2. Lay screen on rubber then feed rubber round the edge, I have found it useful to use a large paint scraper to push the seal over the glass.
3. Once the window is in place you can put the
chrome trim back using the conventional tool for the job or a home made tool
using a length of thick wire. I used a wire tea strainer handle (ask the wife
first]. To prevent water getting in make sure the join is not over the one in
the rubber.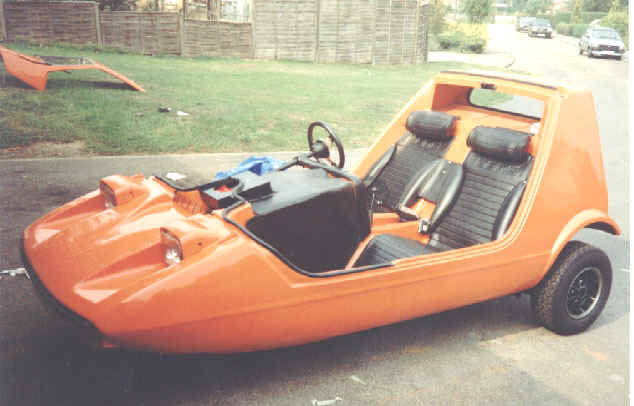
Your nearly there, and there's a Rally/Show coming up. Its easy at this stage to rush to try and get it finished but don't be to hasty. Check that every things in order then take it for a short test drive. I can guarantee there will be problems to start with. My bug was on the road a year before I sorted out all them little teething problems.
The first big test for my bug was the trip up to Morecambe for the BOC rally in 1991. The 200 mile trip up was taken with Kevin a friend from Hertford in his Glitter bug [a silver bug with metallic paint work, does anyone know where it is now?]. We stopped countless times on the way for breaks etc but both cars made it. I will always remember this trip, partly for Kevin's sense of humor. At the prize giving on Morecambe sea front the trophies were being given out for the furthest traveled Bond. The winner was announced as coming from Sussex when Kevin shouts out "Hey what about me, I came from America in me Bond Ranger Boat". I will also remember the sense of achievement when my Bug got me home with no problems, I was patting the engine compartment saying things like "you done me proud" ...OH happy days".
My bug has now done thousands of miles having been to France, Holland, Germany plus all over the country, I've have also made some of my closest friends through the Bug club. Hope these pages have been of some interest. More reports articles etc will follow when I have the time.