Sundials with MMPS
It’s fun to decorate the output images from MMPS with markings for a sundial – the position of the sun on the map indicates the place on earth where the sun is directly overhead. Markings on the map allow us to determine the time, the altitude of the sun, etc.
For example:
./project gnomonic -lat 30 -long 30 \
-tilt -16.1 -dlat 52.2 -grid \
-color darkyellow -tropics -temporaryhours \
-color darkred -analemma \
-color orange -altitudes \
-color red -dateline 91.583 -datetime 91.583 \
-f images/earth.ppm | display
Creates a sundial oriented towards latitude 30, longitude 30 (ie. the
plane of the dial is normal to the line from the centre of the earth
to the location with latitude 30, longitude 30). The markings indicate
data for a position of 52.2 degrees north, 0 degrees east (more or
less where I live), and we want to show the tropic lines, temporary
hour lines (dividing the time between sunrise and sunset in to 12),
the lines of longitude (which indicate the civil hours) are decorated
with analemmas showing the effect of the equation of time. The
altitude of the sun is indicated by the orange lines, and a line and
point pick out 3pm (BST) on April 1st (my wedding anniversary). The
image is rotated (with -tilt) to align the longitude 0
line with the vertical on the image):

-dateline draws a line of the position of the sun on a
particular date, -datetime draws a point for a particular
time on a date. Dates are measured from the beginning of the year in
days, ie. January 1st is day 1, and time is the fraction of the day,
specified in UTC.
The -dlat and -dlong parameters give the
latitude and longitude of location of the sundial –
-lat and -long give the centre of
projection of the image and are determined by the desired orientation
of the sundial. For a horizontal sundial, -dlat and
-dlong should be equal to -lat and
-long, respectively.
To complete the sundial, add a gnomon from the north pole, passing through a nodus mounted directly above the centre of projection (in this case, the centre of the image), at a height of 1⁄4 of the total height of the image (multiplied by any scale factor employed). The shadow of the nodus then gives the location of the sun on the dial.
For a polar dial, we can use an equatorial projection point:

./project gnomonic -dlat 52.2 -grid -scale 2 -w 800 -h 300 \
-color darkyellow -tropics -temporaryhours \
-color darkred -analemma \
-color orange -altitudes \
-f images/earth.ppm | display
Or for a bowstring equatorial dial, we can use a cylindrical projection:
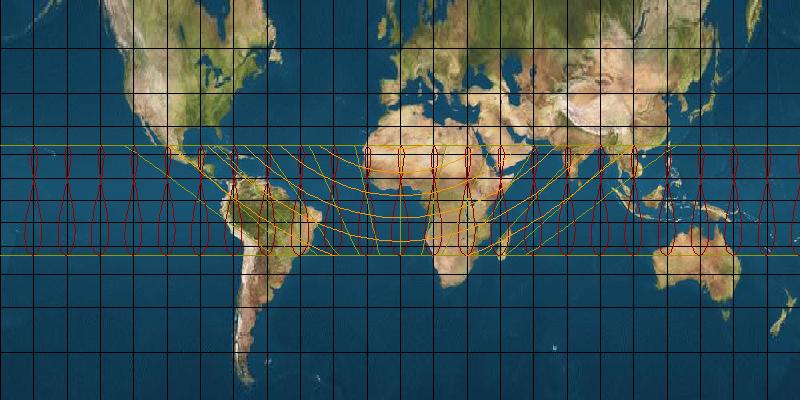
./project cylindrical -dlat 52.2 -grid -w 800 -h 400 \
-color darkyellow -tropics -temporaryhours \
-color darkred -analemma \
-color orange -altitudes \
-f images/earth.ppm | display
In this case, we could use a mercator projection without losing much accuracy in the torrid zone, but with better shapes outside of there:
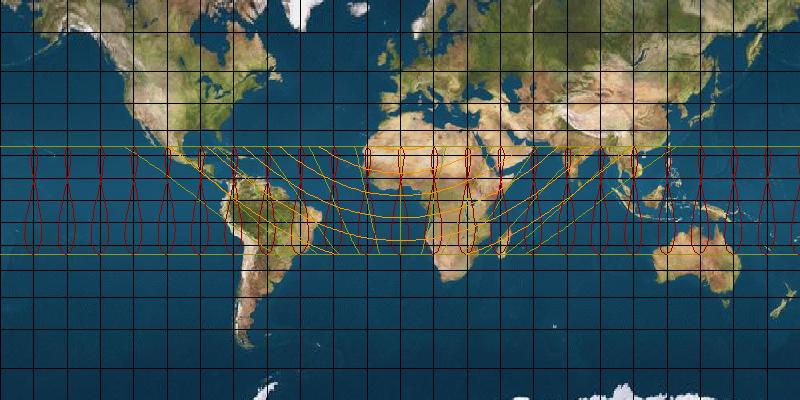
./project mercator -dlat 52.2 -grid -w 800 -h 400 \
-color darkyellow -tropics -temporaryhours \
-color darkred -analemma \
-color orange -altitudes \
-f images/earth.ppm | display