|
||||
|
||||
|
||||

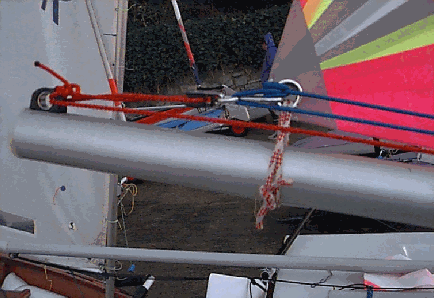
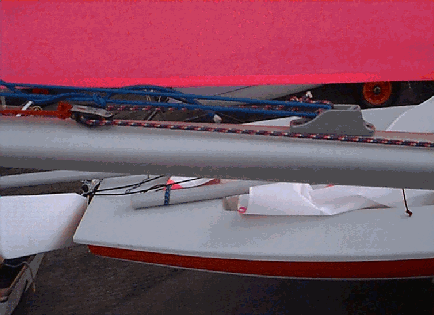
This system provides a 12:1 advantage, we have achieved this with a 3:1 ratio cascaded with a 2:1 cascaded with a 2:1 The view above shows 3:1 arrangement on the end of the boom. The view below shows the first of the two 2:1 cascade blocks. The second 2:1 arrangement is just out of view to the right . It consists of a single block tied off to the line you can see, with the deck control line passing through the block.
