Click on any picture for a larger view. The images might take a
little while to load, as they are large!
21 Feb
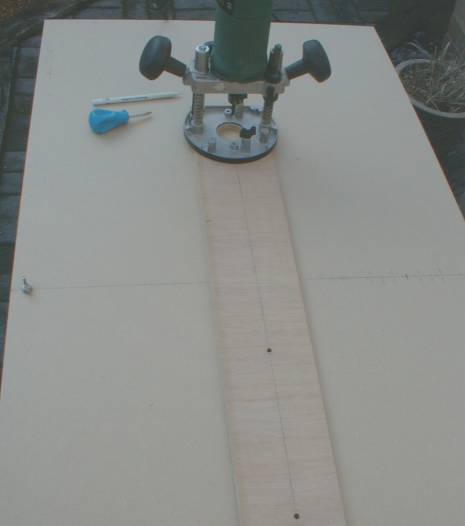
Preparation is everything! This is the master
template I will be using to cut 16 sheets of 4x2 foot hardboard to make up
the half circles required. The strip of wood attached to the router
has pre-measured and drilled holes, ready to place on the bolt (under the
wing nut) shown on the left hand (centre) side of the picture. This
way I should get perfect circles every time.
"
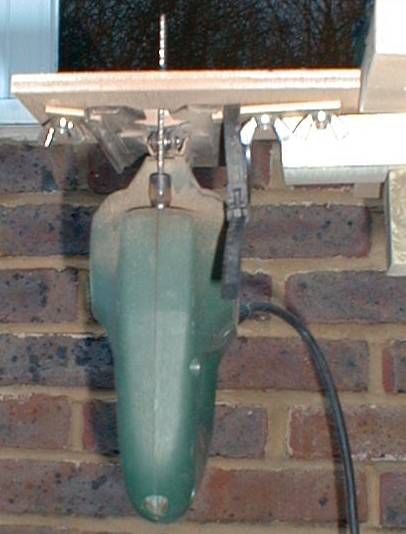
Change of plan, or at least tool...(it took too long to
cut using router bit.)
This shows my jig saw mounted (using a make shift mount)
on the same strip of wood used above.
The cable tie was used to hold a vacuum cleaner hose close to the blade as
a make shift dust extraction unit.
"
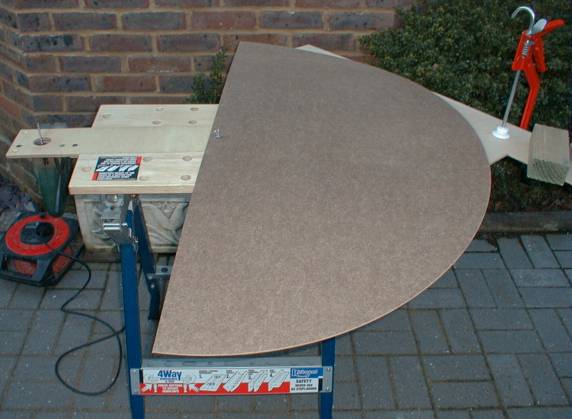
Everything firmly held in place, just checking that I could swing the 4
foot wide hardboard, all the way round.
"
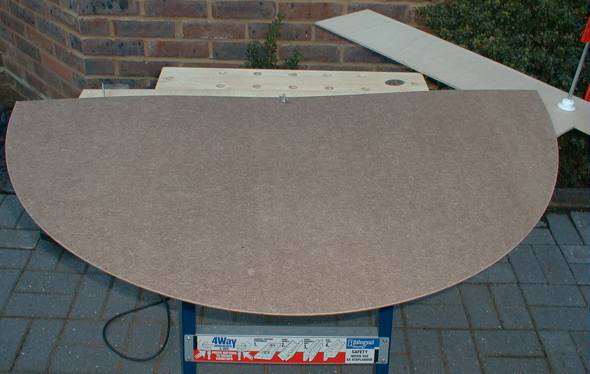
Already to start the second cut...
... only 19 more to go...
29 Feb
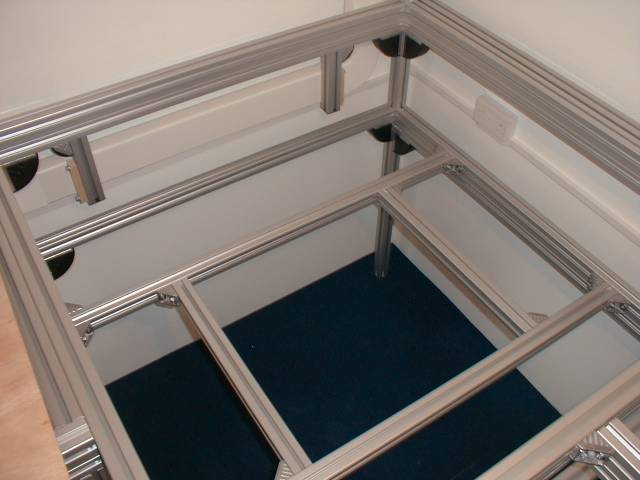
Framework ready to support the base of the helix and access from the
middle.
"
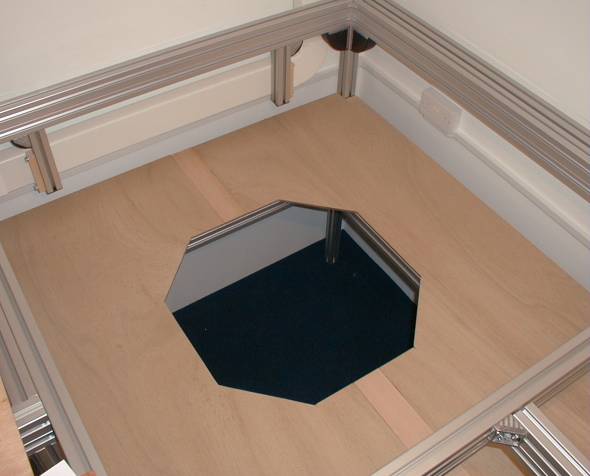
Flat level surface to start with.
"
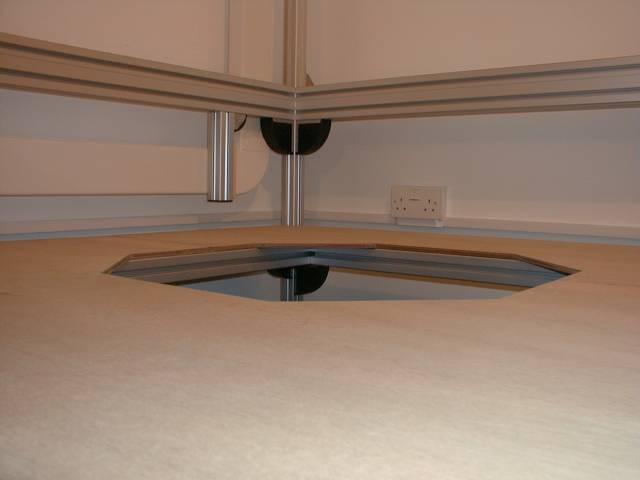
A close-up view.
9 Mar
A quick prototype to ensure all my calculations are correct.
Two sheets of hardboard are going to be laminated together to form one continuous
circle.
28 Mar
To strengthen the joints I have used plasterboard tape to cover up the
joints. This tape is very thin and can also be painted over.
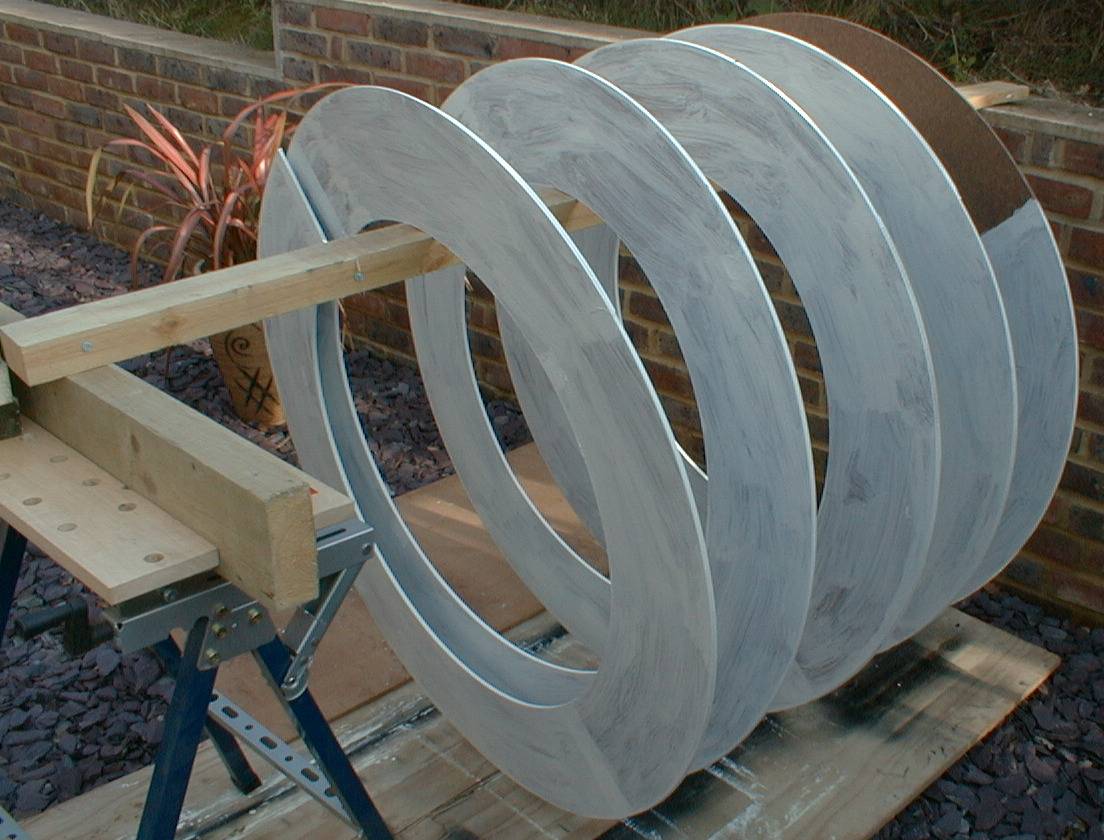
15 Apr
Now painting the helix, first coat. (Quite tricky painting between the
loops!
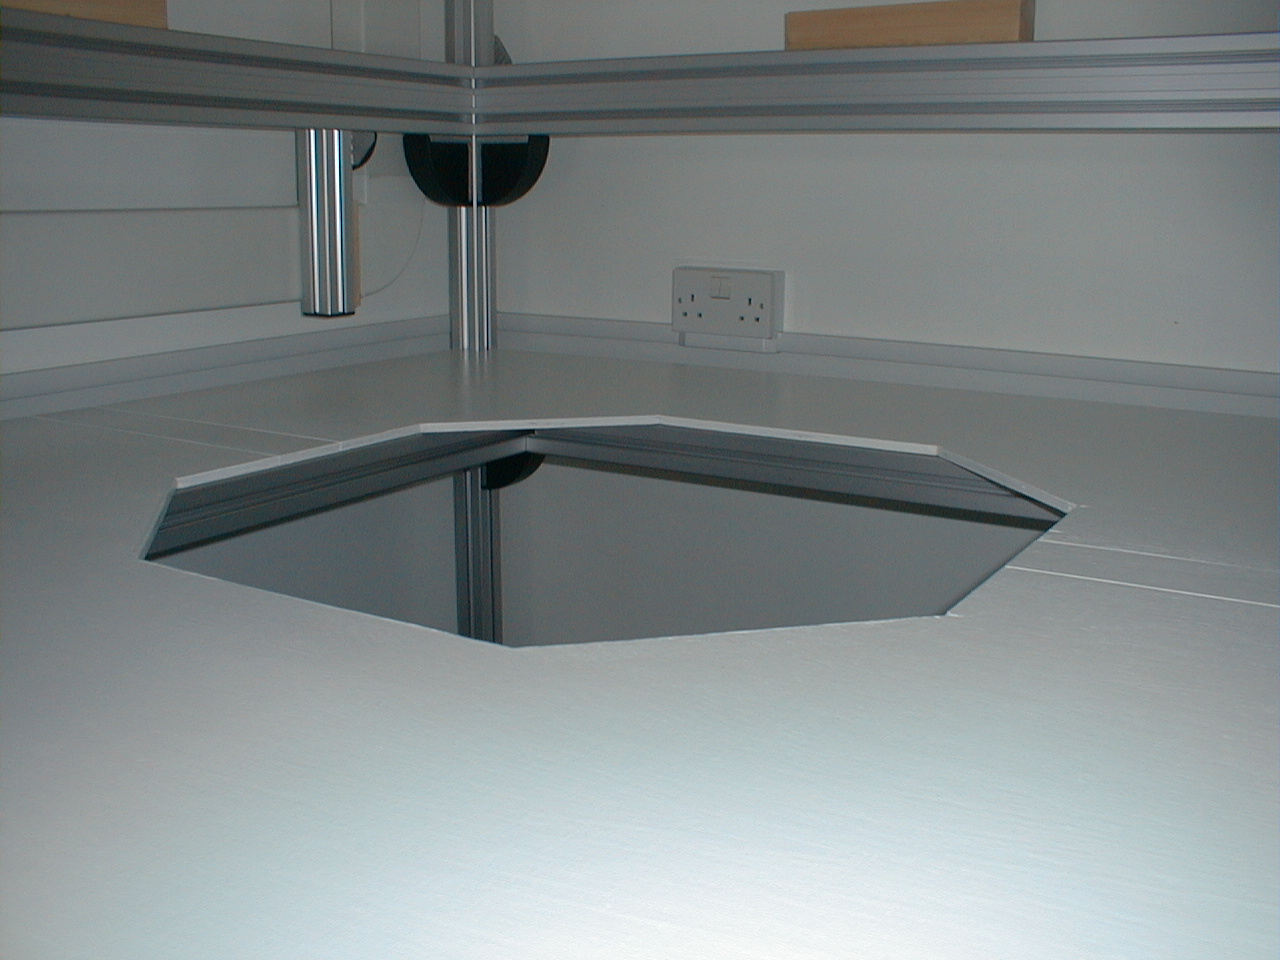
13 Jun
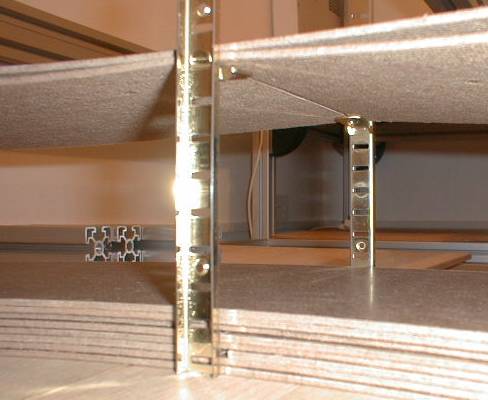
Level surface placed on top aluminium structure using painted (white)
12mm Ply.
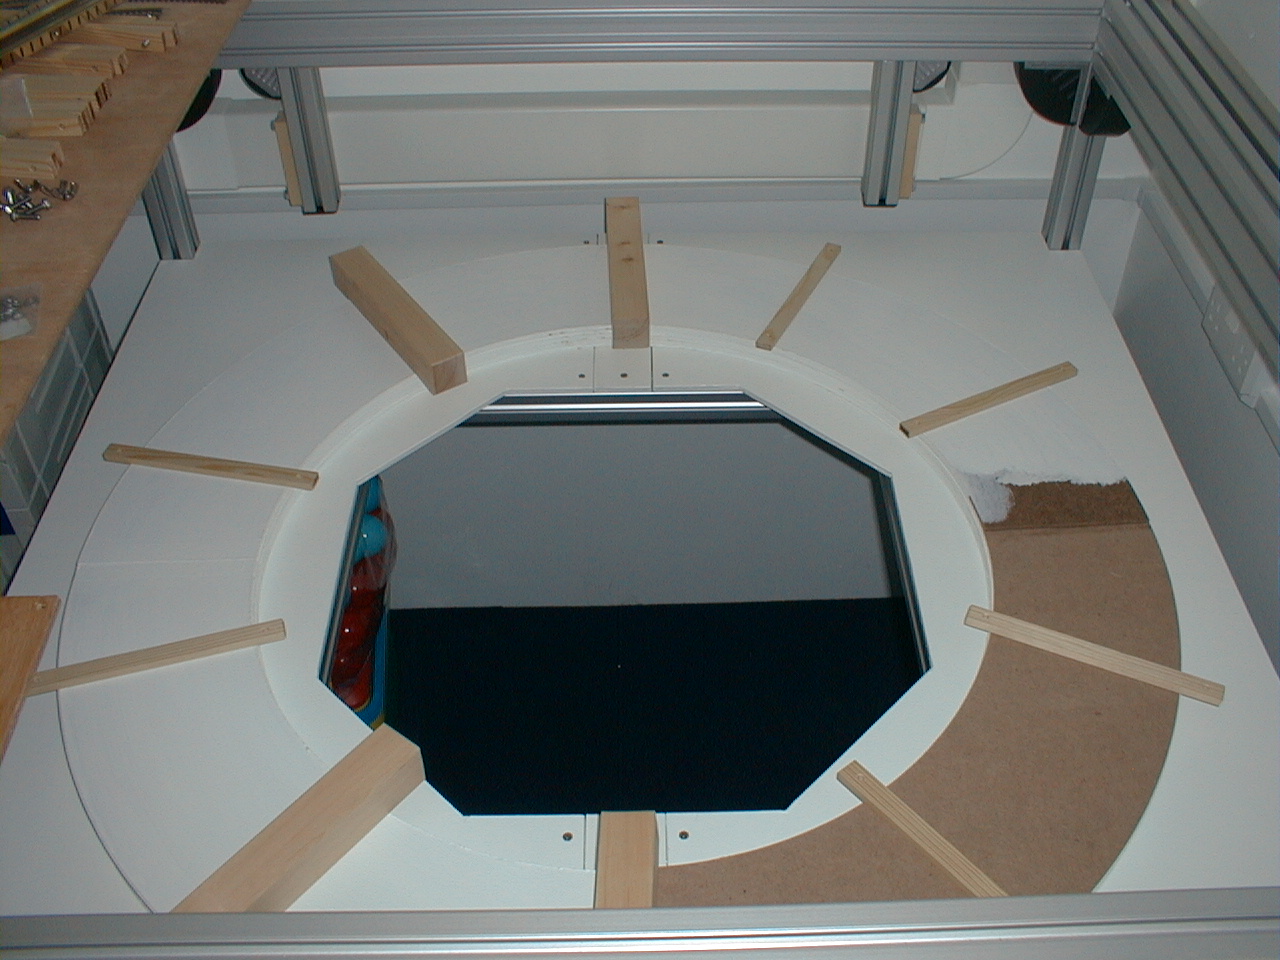
"
Helix in place with almost all painting complete. Just working out
the support angles.