| Date '03 |
Thumb Nail |
Click on any picture for a larger view. The images might take a
little while to load, as they are large! |
| 11 Jan |
 |
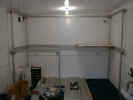
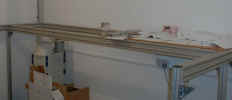
The delivery of the Aluminium Extrusions and all pieces were cut to a
specified length. When they are assembled together they should produce a
very sturdy frame for the track to rest on. |
|
01 Feb
|
 |
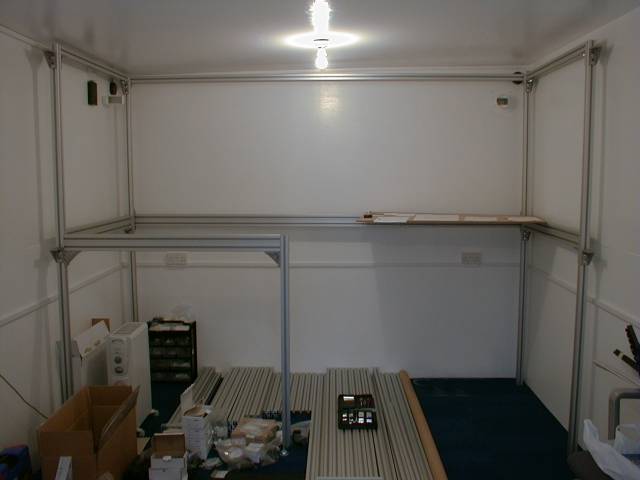
Finally got back to working on the framework. Frame now levelled
and adjusted to height required.
|
| 08 Feb |
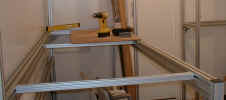 |
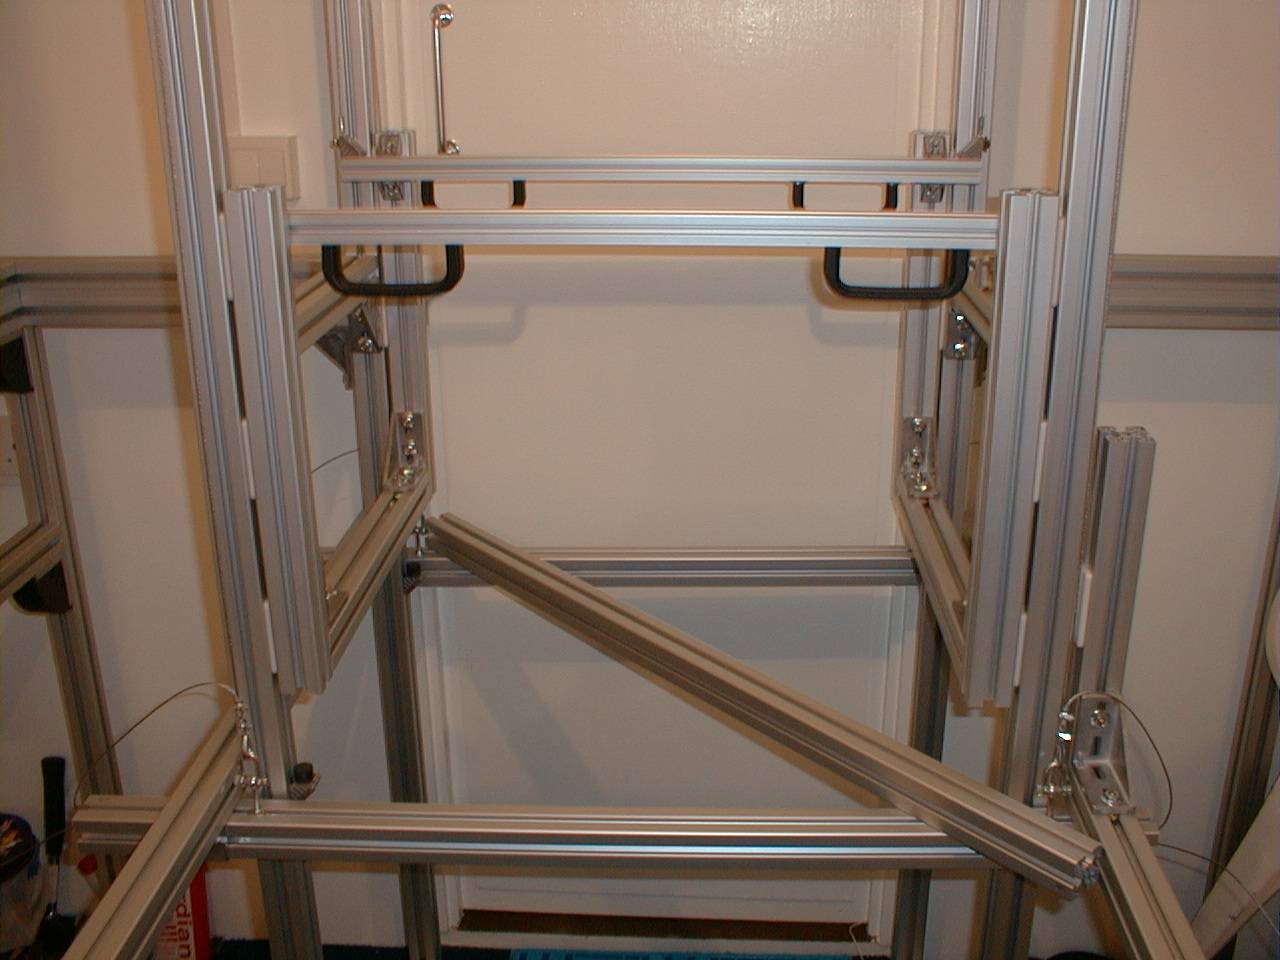
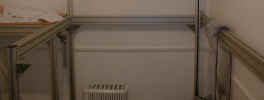
Decided that a width of 3 foot too large for double deck side, therefore
will need to take this apart and re-do this 2 foot apart. Nothing
like trying it for real. |
|
" |
 |
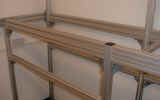
Showing the height between the levels. |
|
15 Feb |
 |
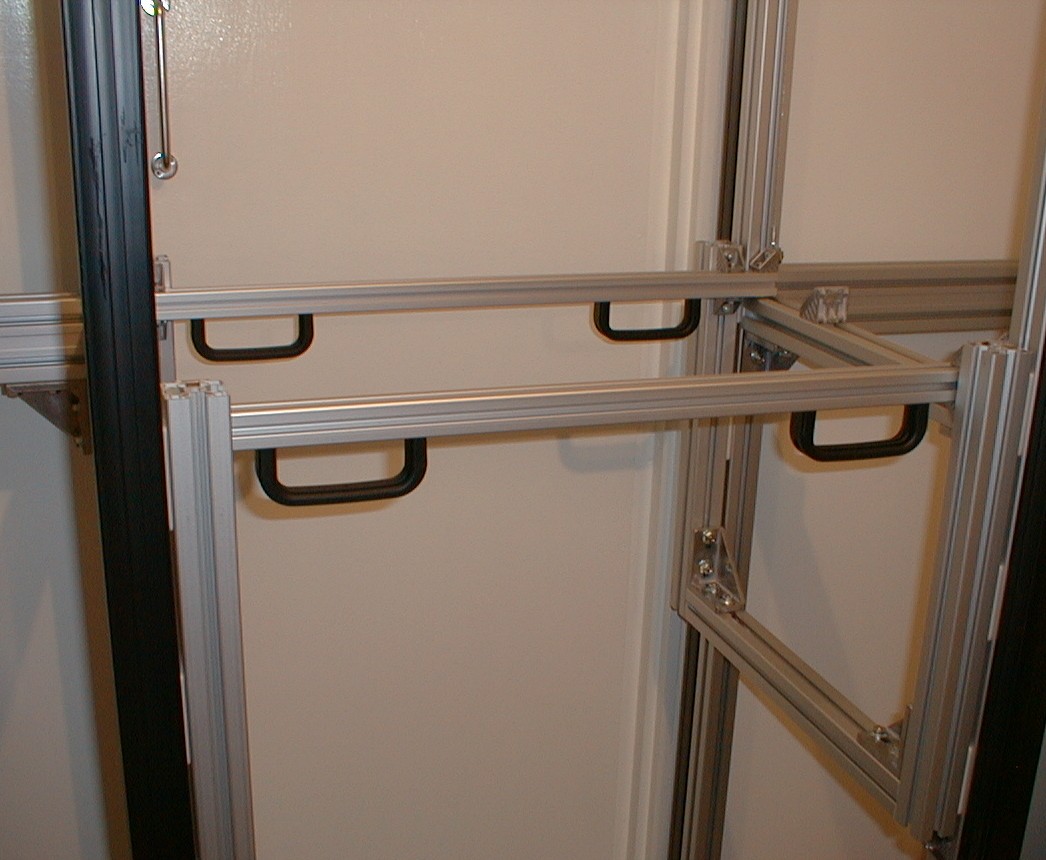
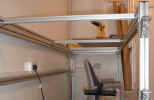
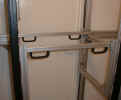
Now spaced 2 foot apart - much better for reaching across and underneath
to the lower level. |
|
" |
 |
The other side, currently set to 2 foot as well, but as this is a single
deck, i might stretch it out a bit more. It's great, I can change my
mind as a go along! |
|
" |
 |
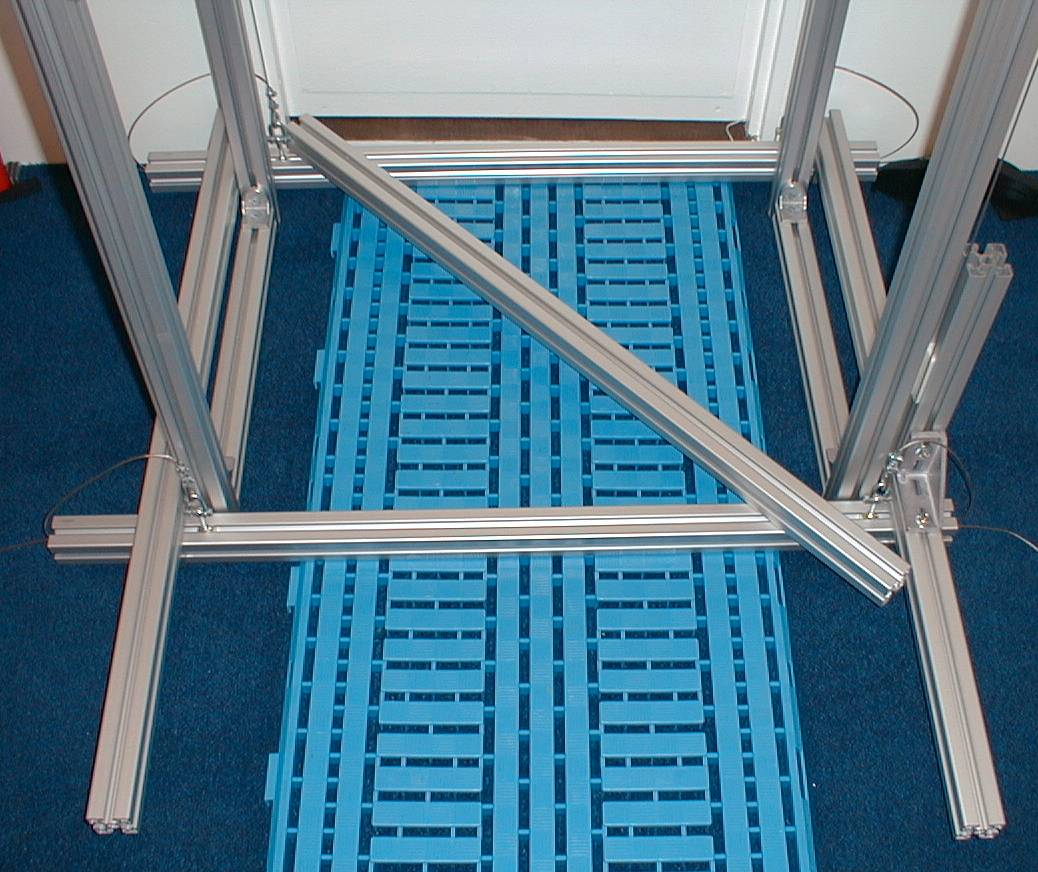
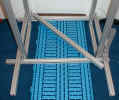
This is where my double helix will go. I have left a space of 1.2
meter wide. Just need to close up the square, once construction is
nearing the end. |
|
" |
 |
This is how I started to level everything, due to the concrete floor not
being 100% level, this was the only way to ensure every section was
level. Span a 3 meter long extrusion across and adjust, adjust and
re-adjust. |
| 5 Apr |
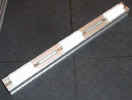 |
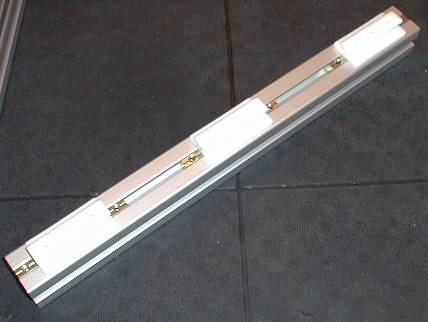
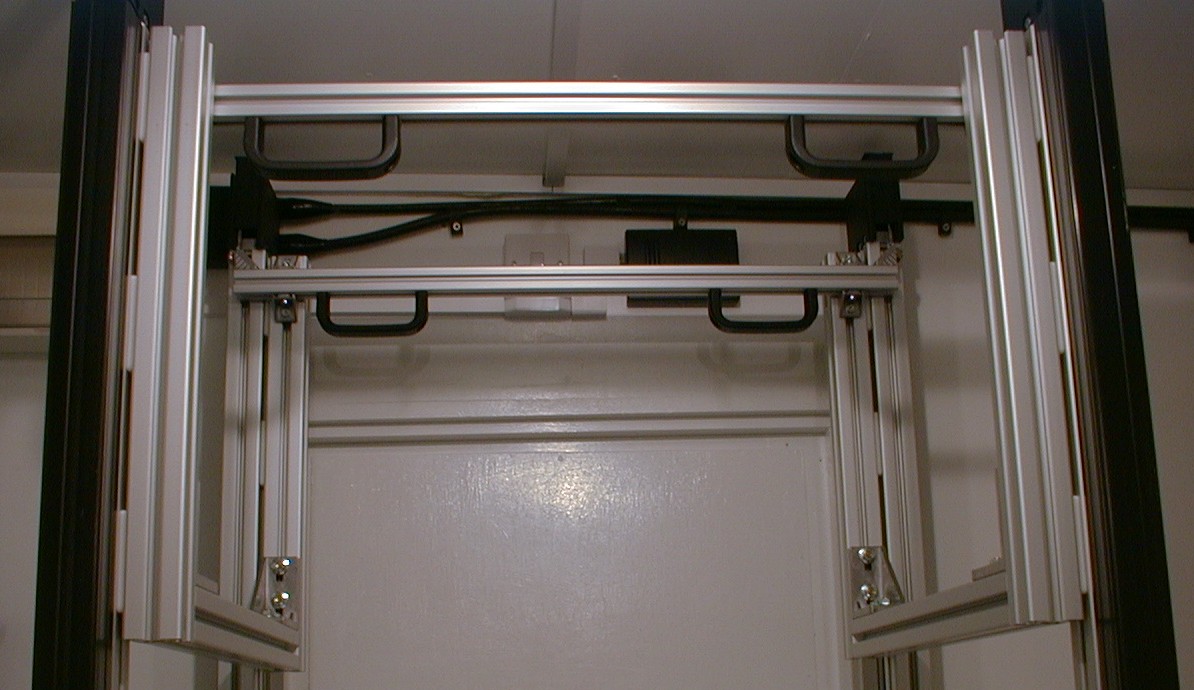
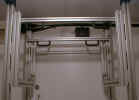
After nearly a months trial and error I have finally come up with the
sliders for "Lift out section". |
|
" |
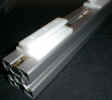 |
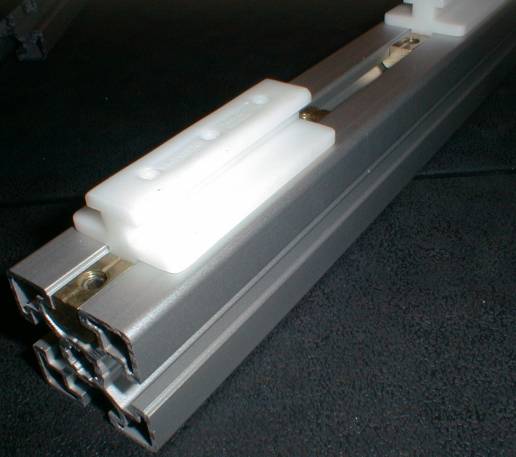
A Closeup of the runners. |
| 12 Apr |
 |
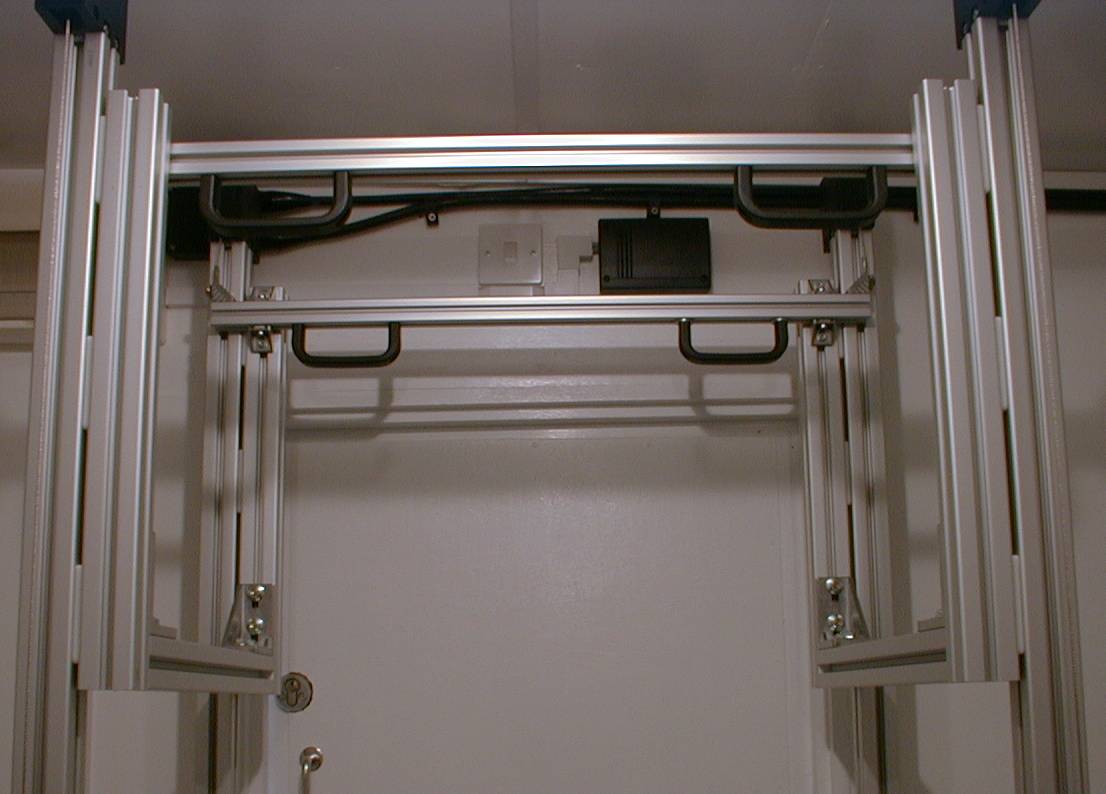
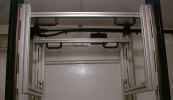
The "Lift out section" cradle shown in the raised position. |
|
" |
 |
The temporary counter weights (another frame!!) - only just until I can
work out how heavy my counter weights need to be! |
|
" |
 |
The "Lift out section" and counter weight almost in
position. By the time I had stepped back to take the photo the frame
had started gliding (gently upwards!)
Perfect. |
|
28 Jun |
 |
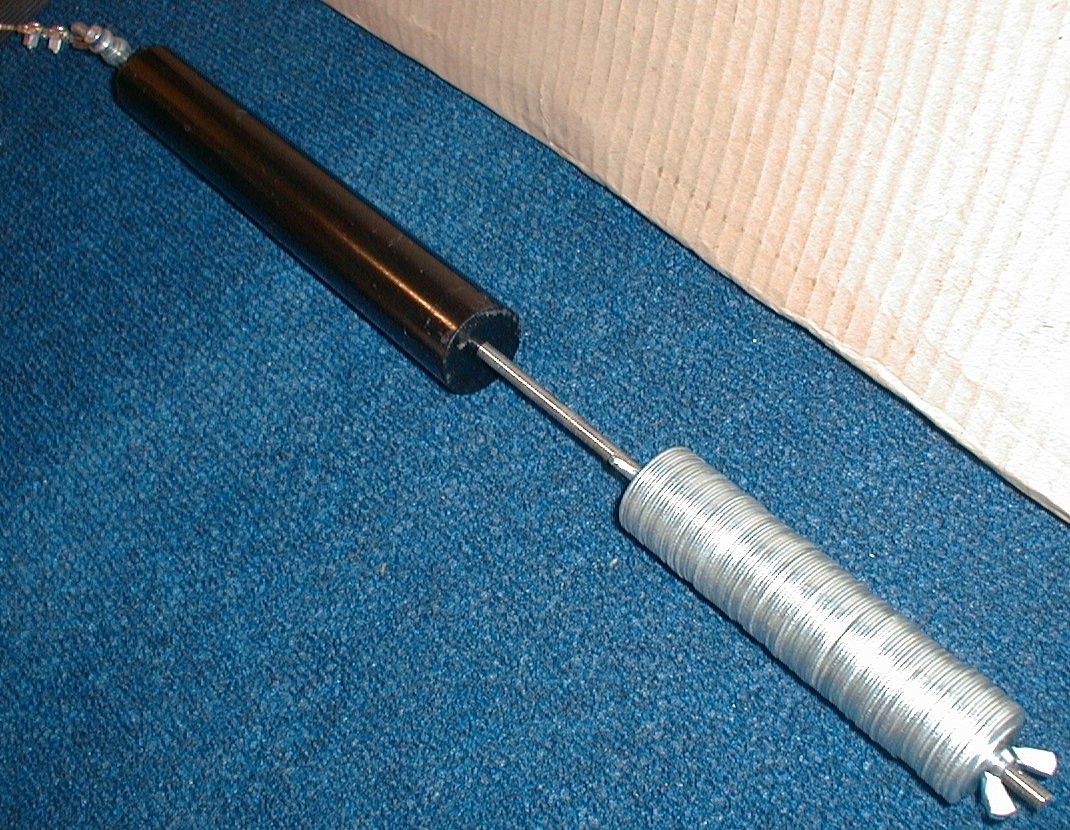
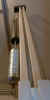
This little bit took a very long time to create. Mild steel rod
cut up into 4 large pieces weighing 2 kilos each. Then tapping each
end, adding the endless thread and finally the additional washers for fine
tuning. |
| 12 Jul |
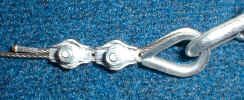 |
It took me several attempts at trying to "solder" the end of
the wire on this little baby - that is until I realised it was stainless
steel, oops! As you can see it's now crimped. |
| 19 Jul |
 |
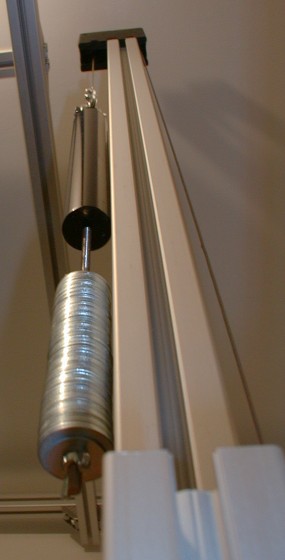
Counter weights in place and fully functional. |
| 26 Jul |
 |
Now hiding counter weights in a tube. |
| 2 Aug |
 |
Lift up section in the up position. |
| " |
 |
Lift up section in the down position. |
| 13 Jun 04 |
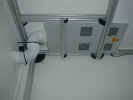 |
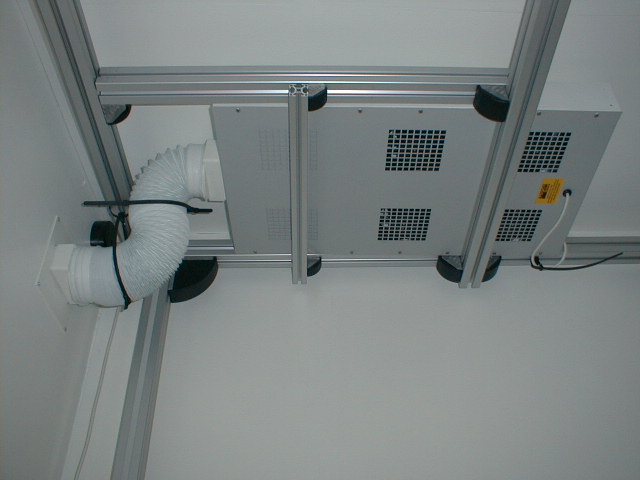
An old computer fan tray, modified to be used as a powered vent and
placed at the highest level in the ceiling. Mind you, the insulation
I installed is working wonders in the summer keeping the shed cool. |
| 21 Sep 04 |
More pictures will be taken once helix
diary is complete. |
|