|
1. Removing the Athlons Casing
2.
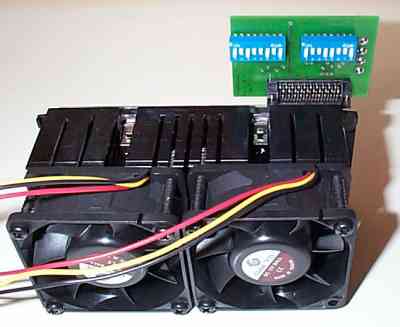
Setting your FreeSpeed cards
DIP Switches
3.
Fitting the FreeSpeed
Now
you have your Athlons casing removed and the
FreeSpeeds switches have been set to your desired
speed and voltage, it's time to fit it.
Plug
a spare Power Connector (like the one used on your
Hard Disk) into the socket on the FreeSpeed card (if
you have no spare power connectors, you can buy a
splitter cable for one of your used connectors from
any computer store).
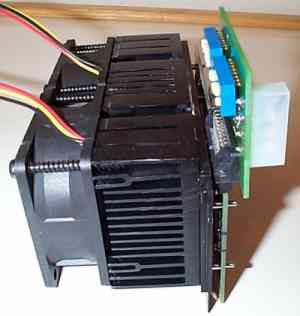
The
FreeSpeed card now simply slots onto the edge
connector on top of your Athlon. Just make sure that
the switches face the heatsink/fan side of the
Athlon. We have found that it's also easy to still
adjust the FreeSpeed while connected to the Athlon.
Please double check every change you make to its
switches.
Please
ensure your PC is turned off while adjusting your
FreeSpeeds settings.
Now
return to "Setting
you FreeSpeed cards DIP Switches" page for
further advice on overclocking.
|
